
An artist's portfolio
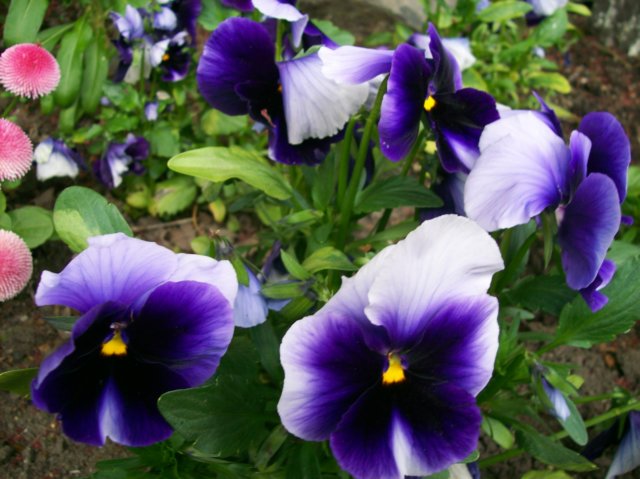
This demo shows you some of the possibilities you have when you start combining the jQuery Tools. This demo uses the scrollable, overlay, tooltip and expose tools together. Click on the thumbnails to see larger versions of the flower images.
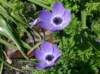


A Blue Flower
Neque porro quisquam est qui dolorem ipsum quia dolor sit amet, consectetur.
Wed Jun 10, 2:35 PM © John Doe

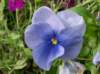
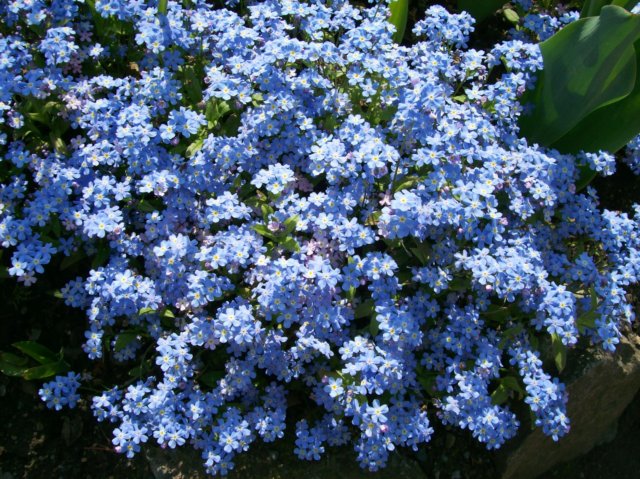
A Blue Flower
Neque porro quisquam est qui dolorem ipsum quia dolor sit amet, consectetur.
Wed Jun 10, 2:35 PM © John Doe

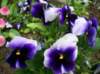
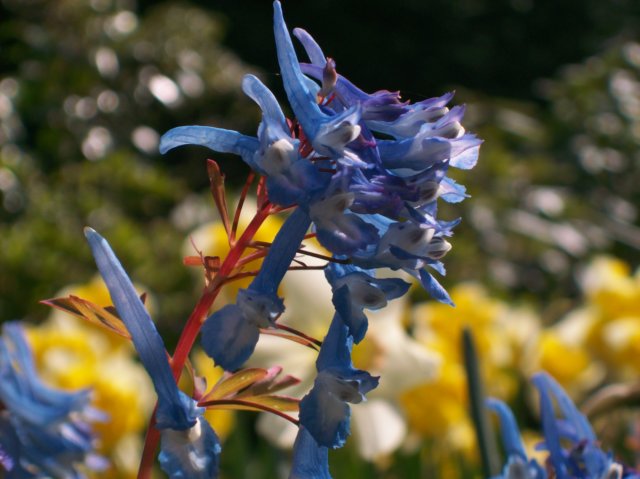
A Blue Flower
Neque porro quisquam est qui dolorem ipsum quia dolor sit amet, consectetur.
Wed Jun 10, 2:35 PM © John Doe
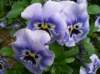
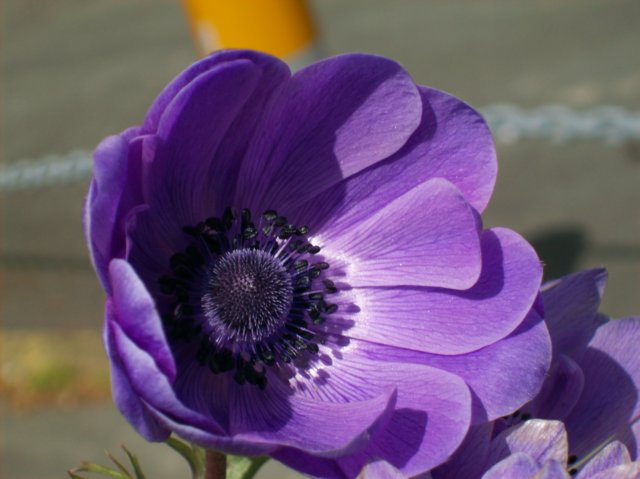
A Blue Flower
Neque porro quisquam est qui dolorem ipsum quia dolor sit amet, consectetur.
Wed Jun 10, 2:35 PM © John Doe
A Blue Flower
Neque porro quisquam est qui dolorem ipsum quia dolor sit amet, consectetur.
Wed Jun 10, 2:35 PM © John Doe

A Blue Flower
Neque porro quisquam est qui dolorem ipsum quia dolor sit amet, consectetur.
Wed Jun 10, 2:35 PM © John Doe

A Blue Flower
Neque porro quisquam est qui dolorem ipsum quia dolor sit amet, consectetur.
Wed Jun 10, 2:35 PM © John Doe
A Blue Flower
Neque porro quisquam est qui dolorem ipsum quia dolor sit amet, consectetur.
Wed Jun 10, 2:35 PM © John Doe

A Blue Flower
Neque porro quisquam est qui dolorem ipsum quia dolor sit amet, consectetur.
Wed Jun 10, 2:35 PM © John Doe

A Blue Flower
Neque porro quisquam est qui dolorem ipsum quia dolor sit amet, consectetur.
Wed Jun 10, 2:35 PM © John Doe

A Blue Flower
Neque porro quisquam est qui dolorem ipsum quia dolor sit amet, consectetur.
Wed Jun 10, 2:35 PM © John Doe

A Blue Flower
Neque porro quisquam est qui dolorem ipsum quia dolor sit amet, consectetur.
Wed Jun 10, 2:35 PM © John Doe
A Blue Flower
Neque porro quisquam est qui dolorem ipsum quia dolor sit amet, consectetur.
Wed Jun 10, 2:35 PM © John Doe

A Blue Flower
Neque porro quisquam est qui dolorem ipsum quia dolor sit amet, consectetur.
Wed Jun 10, 2:35 PM © John Doe
A Blue Flower
Neque porro quisquam est qui dolorem ipsum quia dolor sit amet, consectetur.
Wed Jun 10, 2:35 PM © John Doe
A Blue Flower
Neque porro quisquam est qui dolorem ipsum quia dolor sit amet, consectetur.
Wed Jun 10, 2:35 PM © John Doe
All tools are "skin free" and they only provide the necessary functionality. For that reason you have full control over their appearance. You'll also be surprised how little JavaScript coding this setup requires. The possibilities are endless.
HTML for the thumbnail scrollable
This is the scrollable that can be seen on the page and contains the small thumbnail images:
<!-- "prev page" button -->
<div class="navi prev"></div>

<!-- root element for scrollable -->
<div id="thumbnails">

  <!-- root element for thumbnails -->
  <div class="entries">
    <div><img src="img/thumb/thumb1.jpg" /></div>
    <div><img src="img/thumb/thumb2.jpg" /></div>
    <div><img src="img/thumb/thumb3.jpg" /></div>
    ...
  </div>

</div>

<!-- "next page" button -->
<div class="navi next"></div>

<br clear="all" />
HTML coding for the overlay
This is fairly similar to the thumbnail scrollable. The difference is that the scrollable elements have an associated tooltip element. Since the tooltip can contain any HTML, we have filled it with a header, description and a small paragraph. Navigational buttons are positioned on the bottom of the scrollable.
<!-- our overlay is called "box" -->
<div id="box">
<!-- root element for scrollable -->
<div id="images">
<!-- root element for portfolio images -->
<div class="items">
<!-- single portfolio entry -->
<div>
<!-- the image -->
<img src="img/image1.jpg" />
<!-- the tooltip -->
<div class="info">
<h3>A Blue Flower</h3>
<p>Neque porro quisquam est qui dolorem ipsum quia dolor
sit amet, consectetur.</p>
<p class="copy">
Wed Jun 10, 2:35 PM <strong>© John Doe</strong>
</p>
</div>
</div>
<!-- ... rest of the images goes here -->
</div>
</div>
<!-- prev/next buttons -->
<div class="navi prev"></div>
<div class="navi next"></div>
</div>
CSS coding
As always, the CSS coding may be the hardest part of the job. We are using an external CSS file called boxed.css.
Setting up the thumbnail scrollable
Here is the JavaScript configuration for the thumbnail scrollable. When the scrollable is initialized, a jQuery object is returned. We continue using that and find the actual images inside the scrollable. For those images we assign a click event which launches the overlay. The overlay constructor uses our "box" HTML element as the actual overlay. We enable the exposing effect and use a custom mask ID "mask" so that we can tweak the look of the mask with our CSS file.
We have defined an onLoad callback that will position the overlayed scrollable into the same position as what was the index number of the clicked thumbnail image:
  // thumbnail scrollable
  $("#thumbnails").scrollable({size: 5, clickable: false})
                .find("img").each(function(index) {

  // thumbnail images trigger the overlay
  $(this).overlay({

  effect: 'apple',
  target: '#box',
  mask: { maskId: 'mask' },

  // when box is opened, scroll to correct position (in 0 seconds)
  onLoad: function() {
  $("#images").data("scrollable").seekTo(index, 0);
  }
  });
  });
Setting up the overlayed scrollable and tooltips
Again, we have a pretty straightforward layout. The second scrollable has only one item visible at a time. We enable the api property to get a handle to the scrollable's API. This is used in our overlay's onLoad event (see above).
The tooltip is also straightforward. We position it on the bottom edge and move it a little upward so that it will overlap our image with an opacity of 80%. We alter the show/hide behaviour by using the built-in "fade" effect:
  // scrollable inside the box.
  $("#images").scrollable();

    // enable tooltips for the images
  $("#images img").tooltip({
  position: "bottom center",
  offset: [-75, -30],
  opacity: 0.8,
  effect: 'fade',

  // position tooltips relative to the parent scrollable
  relative: true
  });
Thumbnail reflections
In addition to the Tools, we are using a third-party plugin, reflection, to enable those reflection effects on the thumbnails:
  // enable reflections
  $("#thumbnails img").reflect({height: 0.5, opacity: 0.6});
As you can see, there are no problems using the Tools and other jQuery plugins together.